Быстрый старт (обновлено: 30 Jul 2021, 15:20:54)
Быстрый запуск прошивки WiFi-IoT через NodeMCU Flasher .
1. Загружаем прошивальщик https://github.com/nodemcu/nodemcu-flasher
2. Загружаем бланк blank1m.bin или 4MB в зависимости от объема flash на модуле
3. Now connect ESP8266 to a PC, the best versions of ESP8266 for beginners are Wemos, Witty Cloud, NodeMCU boards, all boards with USB<->UART IC.
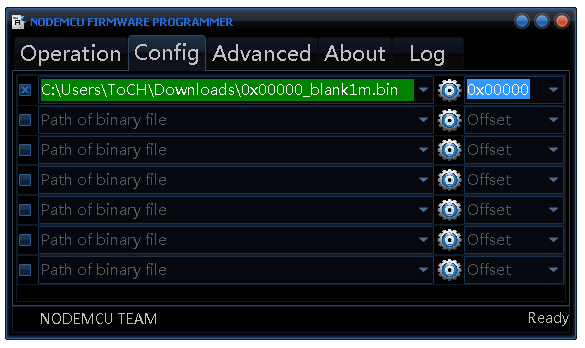
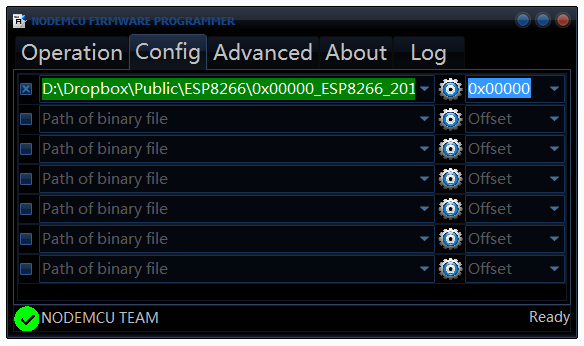
4. Прошиваем бланк по адресу 0х0000.
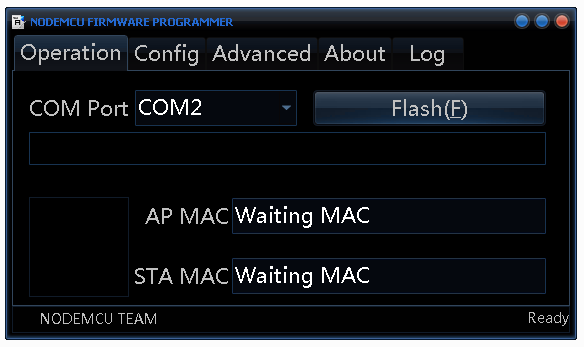
5. Выбираем в NodeMCU Flasher нужный COM Port.
6. Выбираем бланк.
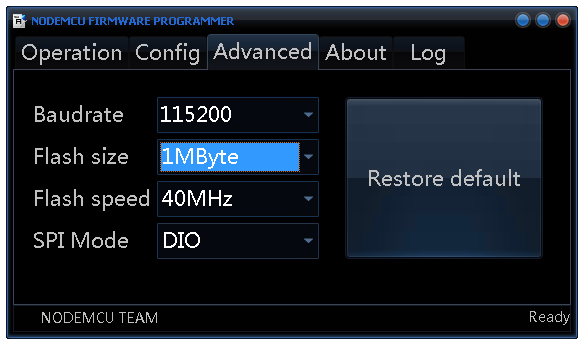
7. Настраиваем в Advanced tab. Flash size 4MByte и SPI MODE QIO !!!
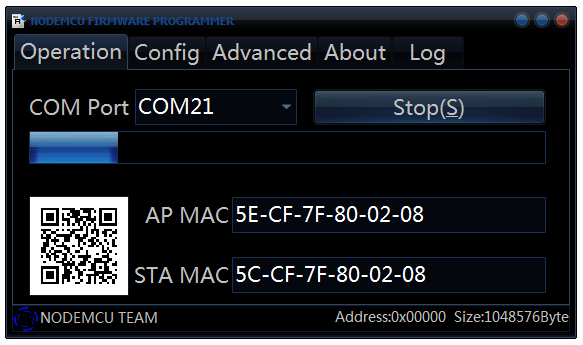
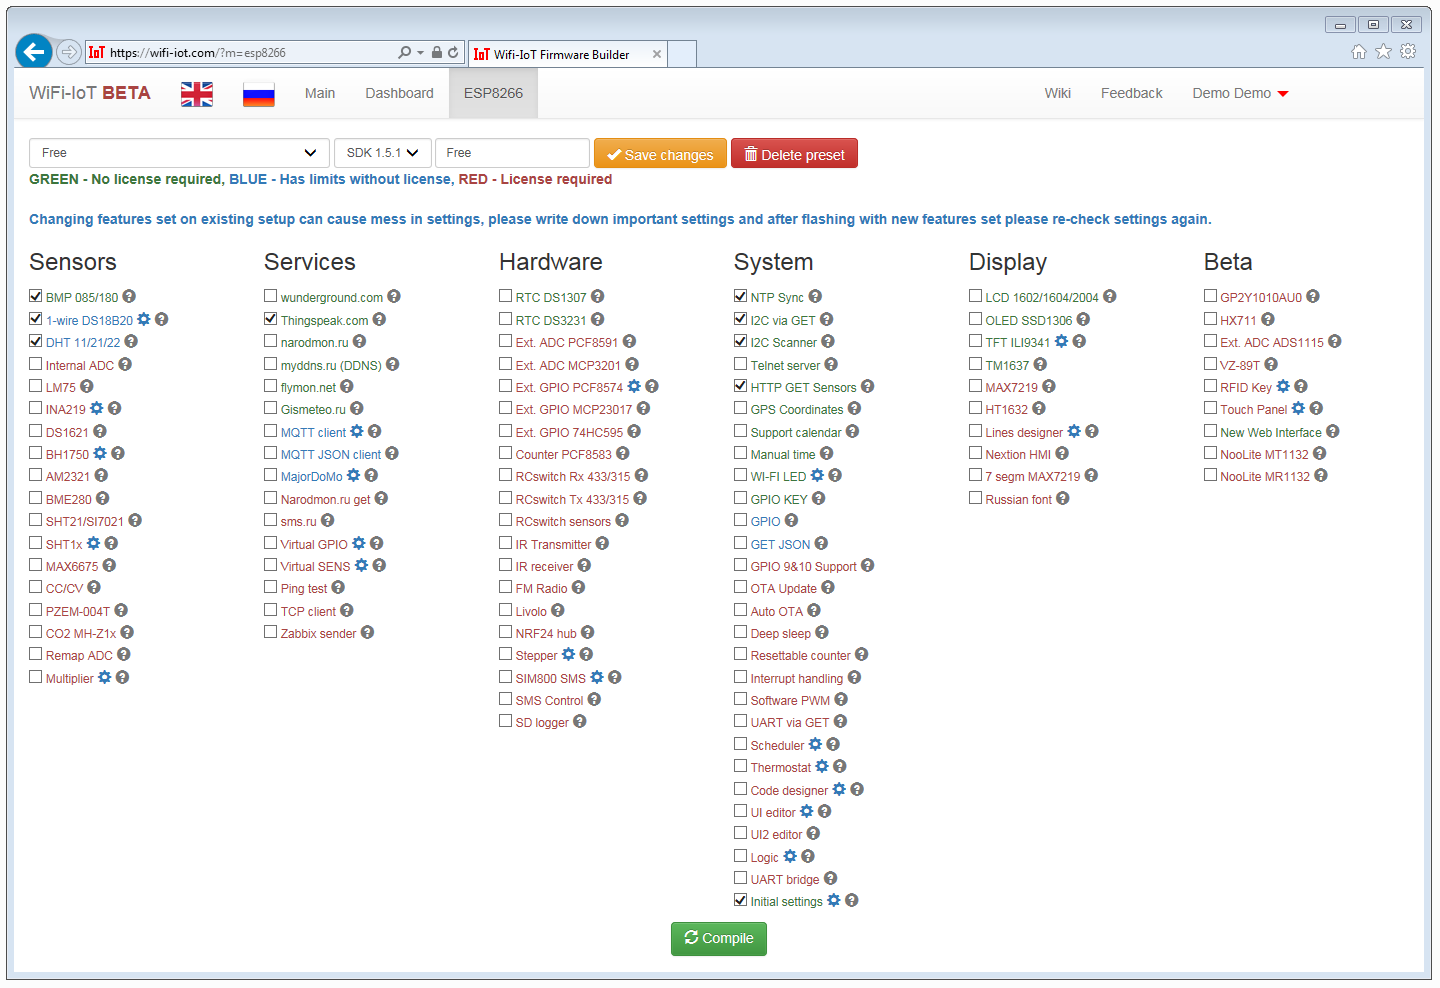
8. Возвращаемся и нажимаем кнопку Flash.
9. После прошивки бланка собираем прошивку, рекоменуется выбрать опции: NTP, Поддержка календаря, NVS настройки. Для настройки WI-FI сразу после прошивки можно воспользоваться опцией настроек по умолчанию (Initial settings). На пустом модуле точка доступа WifiIot (Режим Safe mode) появится автоматически. Запустить Safe mode можно, замкнув RX и TX.
10. После успешной компиляции загружаем прошивку одним файлом.
11. Go to NodeMCU Flasher and select this downloaded binary in Config tab. Go to Operation tab and click Flash.
12. After flashing is done, restart module with powering it off and on again (Witty, Wemos ...), for other modules it might need to connect in right way for normal boot. After a few seconds module will connect to WiFi and you can find module IP from your router DHCP clients list or from some tool like Fingbox (Android, iOS).
